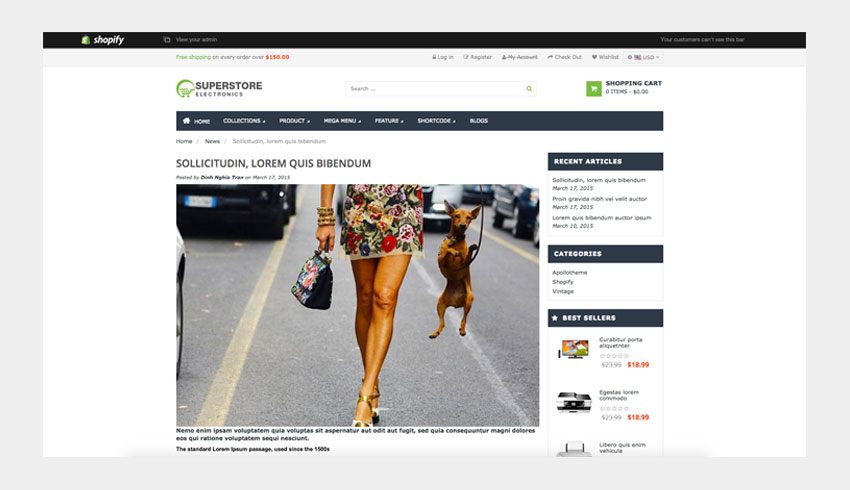
Firstly, you will already have a link in your stores’ main navigation called Blog . You can see at HERE to add navigation link at menu bar. This tutorial will show you how to add / edit a blog post in Shopify Theme .
Steps to add a blog post :
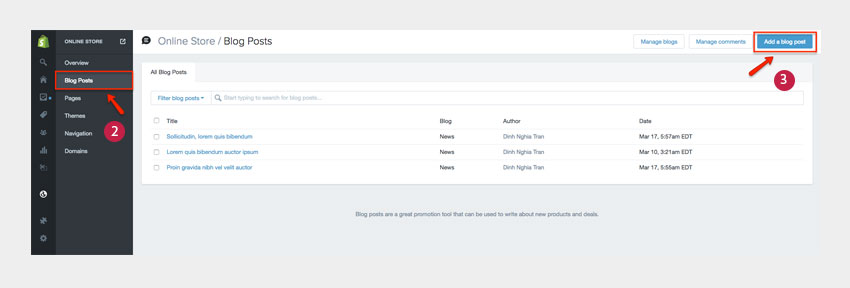
1. Log into your Shopify Admin panel and go to “ Online Store” >> ” BLog Posts“
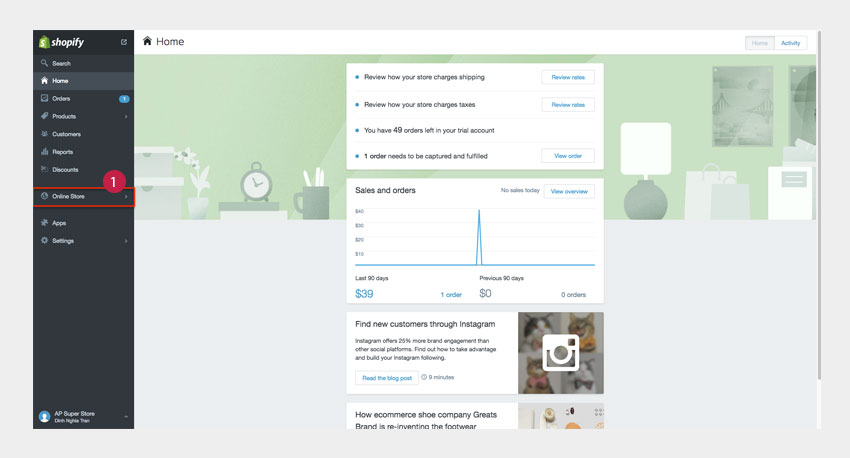
blog shopify
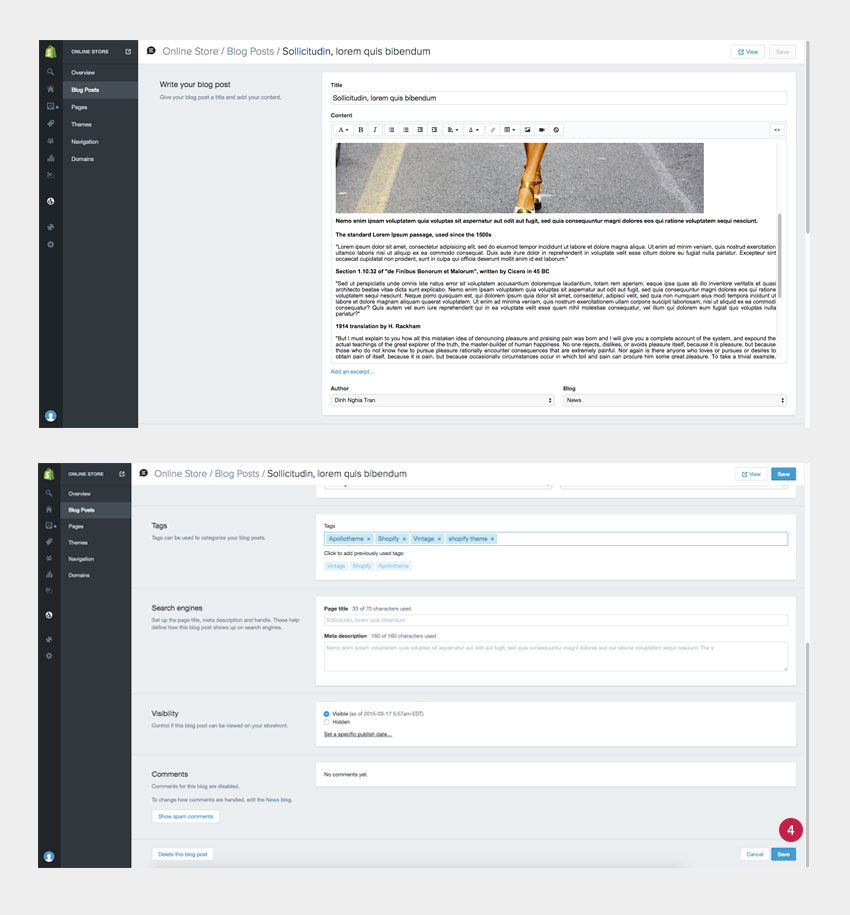
2. From your “Blog Posts” Page , click on ” Add a blog Post “. This will take you to the ” Write your blog post ” section:
- Title : enter the title of the article
- Content : enter the content of the article
- Author : select your name form the drop-down menu
- Blog : select which blog you would like your blog post to be published
- Tags : tags can be used to categorize your blog posts
- Search engines : set up the page title , meta description and handle . These help defined how this blog shows up on search engines
- Visibility : Control if this blog post can be viewed on your storefront
3.Click “Save Changes “at the top and open the front page of your site to check these changes.
P/s: We hope that the tutorial is helpful for you and do not hesitate to share your idea or ask us if you have any question. You can see other tutorials of shopify at HERE .
About the author
Apollo Theme is the most modern provider of Shopify Template. With 9 years experience, we bring many modern and perfect themes to everyone. With the aim of providing high-quality products for customers, our talented team always tries to work hard and catch up the new trend of technology and design to give you more valued template with a unique combination of new ideas, flexible architecture and easy-to-use product. We are really appreciated it and hope that you enjoy it! Apollo Template want bring the highest customer satisfaction, we have professional supporting team to assist all our buyer. All support will be conducted through our support ticket "https://apollotheme.com/ticket/", send your problems to our email: "apollotheme@gmail.com" or at our facebook with name “Apollo Theme”. We usually get back to you within 24hours. (except holiday seasons which might take longer).
![[Newest] 2+ Best Free PrestaShop Themes Halloween 2019 | Ease to Use & Responsive](https://apollotheme.leotheme.com/wp-content/uploads/2019/08/best-free-prestashop-themes-halloween.png)